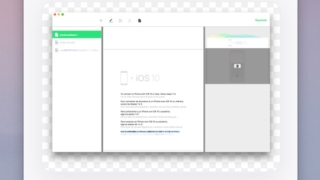
撮影したスクリーンショットをメニューバーからドラッグ&ドロップで利用『Shotty』
Command ⌘ Shift + 3 or 4で撮影したスクリーンショット ...
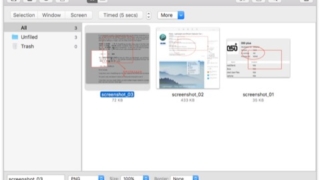
スクリーンショットを撮影して注釈などを入れてライブラリで管理『SnapNDrag Pro』
高機能スクリーンショット管理アプリ。 指定した範囲を撮影して、そのファイルをライブラリでし ...
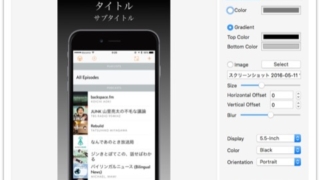
iOSアプリの紹介に使えるようなスクリーンショットを作成『Screenshot Creator』
期間限定で無料。 iPhone・iPadなど実機端末のフレームに、スクリーンショット画像を ...
Macを買ってまっさらな状態からまず変更した設定
久々にMacを新調してテンション上がってます。 秘伝のタレのように、OSをアップグレードし ...
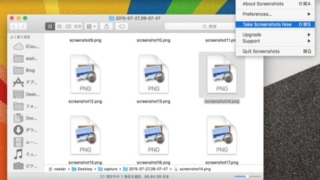
すべてのウィンドウのスクリーンショットを一度に撮影『Capture All』
メニューバーからのワンクリックですべてのウィンドウ(スクリーン全体やDock、メニューバー ...
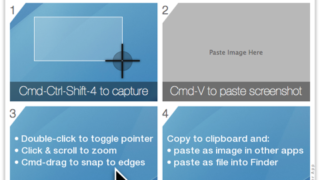
4ステップ説明画像を作成『Explainer Screenshots』
パソコン上での操作を4ステップに分けて説明するための画像を簡単に作成できるアプリです。 4 ...
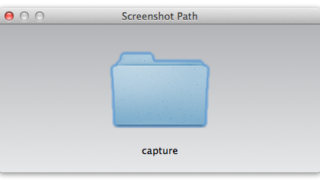
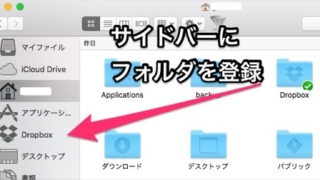
スクリーンショットの保存先を分かりやすく変更『Screenshot Path』
Command ⌘ Shift + 3 or 4で撮影できるスクリーンショットは通常デスク ...
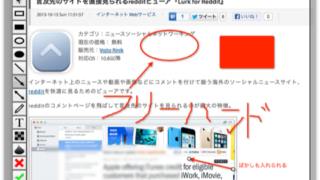
スクリーンキャプチャを撮影して注釈を付けて保存『Screenshoter』
メニューバーもしくはControl + Shift + Xのホットキーからスクリーンキャプ ...
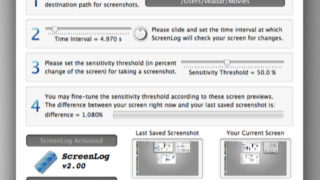
デスクトップの差異が大きい時だけ定期的にスクリーンショットを撮影『ScreenLog』
設定した間隔でスクリーンショットを撮影して、指定したフォルダに保存するアプリです。Macで ...
スクリーンショットを撮影して公開・編集『Lightshot Screenshot』
メニューバーやホットキー(F13)からスクリーンショットを撮影するアプリとオンラインフォト ...